Have you ever faced the frustrating situation of having your drill bit snap while working on an aluminum project? I certainly have, and let me tell you – it’s not a fun experience trying to extract a broken drill bit that’s stuck deep in a hole.
But don’t panic! Removing a seized drill bit from aluminum is possible with some determination and the right techniques. In this comprehensive guide, I’ll walk you through the step-by-step process to safely remove a broken drill bit without damaging your aluminum workpiece.
Why Drill Bits Break When Drilling Aluminum
Before we get into the nitty gritty of extracting a broken bit, it helps to understand why drill bits fail in aluminum in the first place.
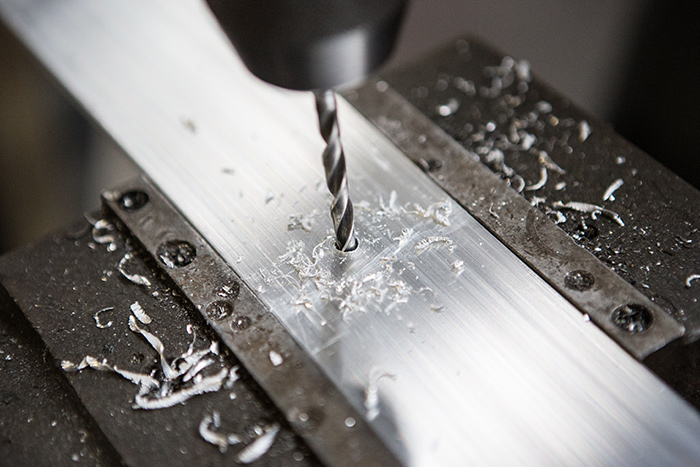
The main culprit is heat. Friction from drilling builds up intense heat at the tip of the bit. Aluminum conducts this heat poorly, allowing the bit to overheat. Once the temperature passes a certain threshold, the hardened steel of the bit loses temper and becomes brittle. Continuing to drill causes shock, vibration, and torque stresses that can snap the overheated, brittle bit.
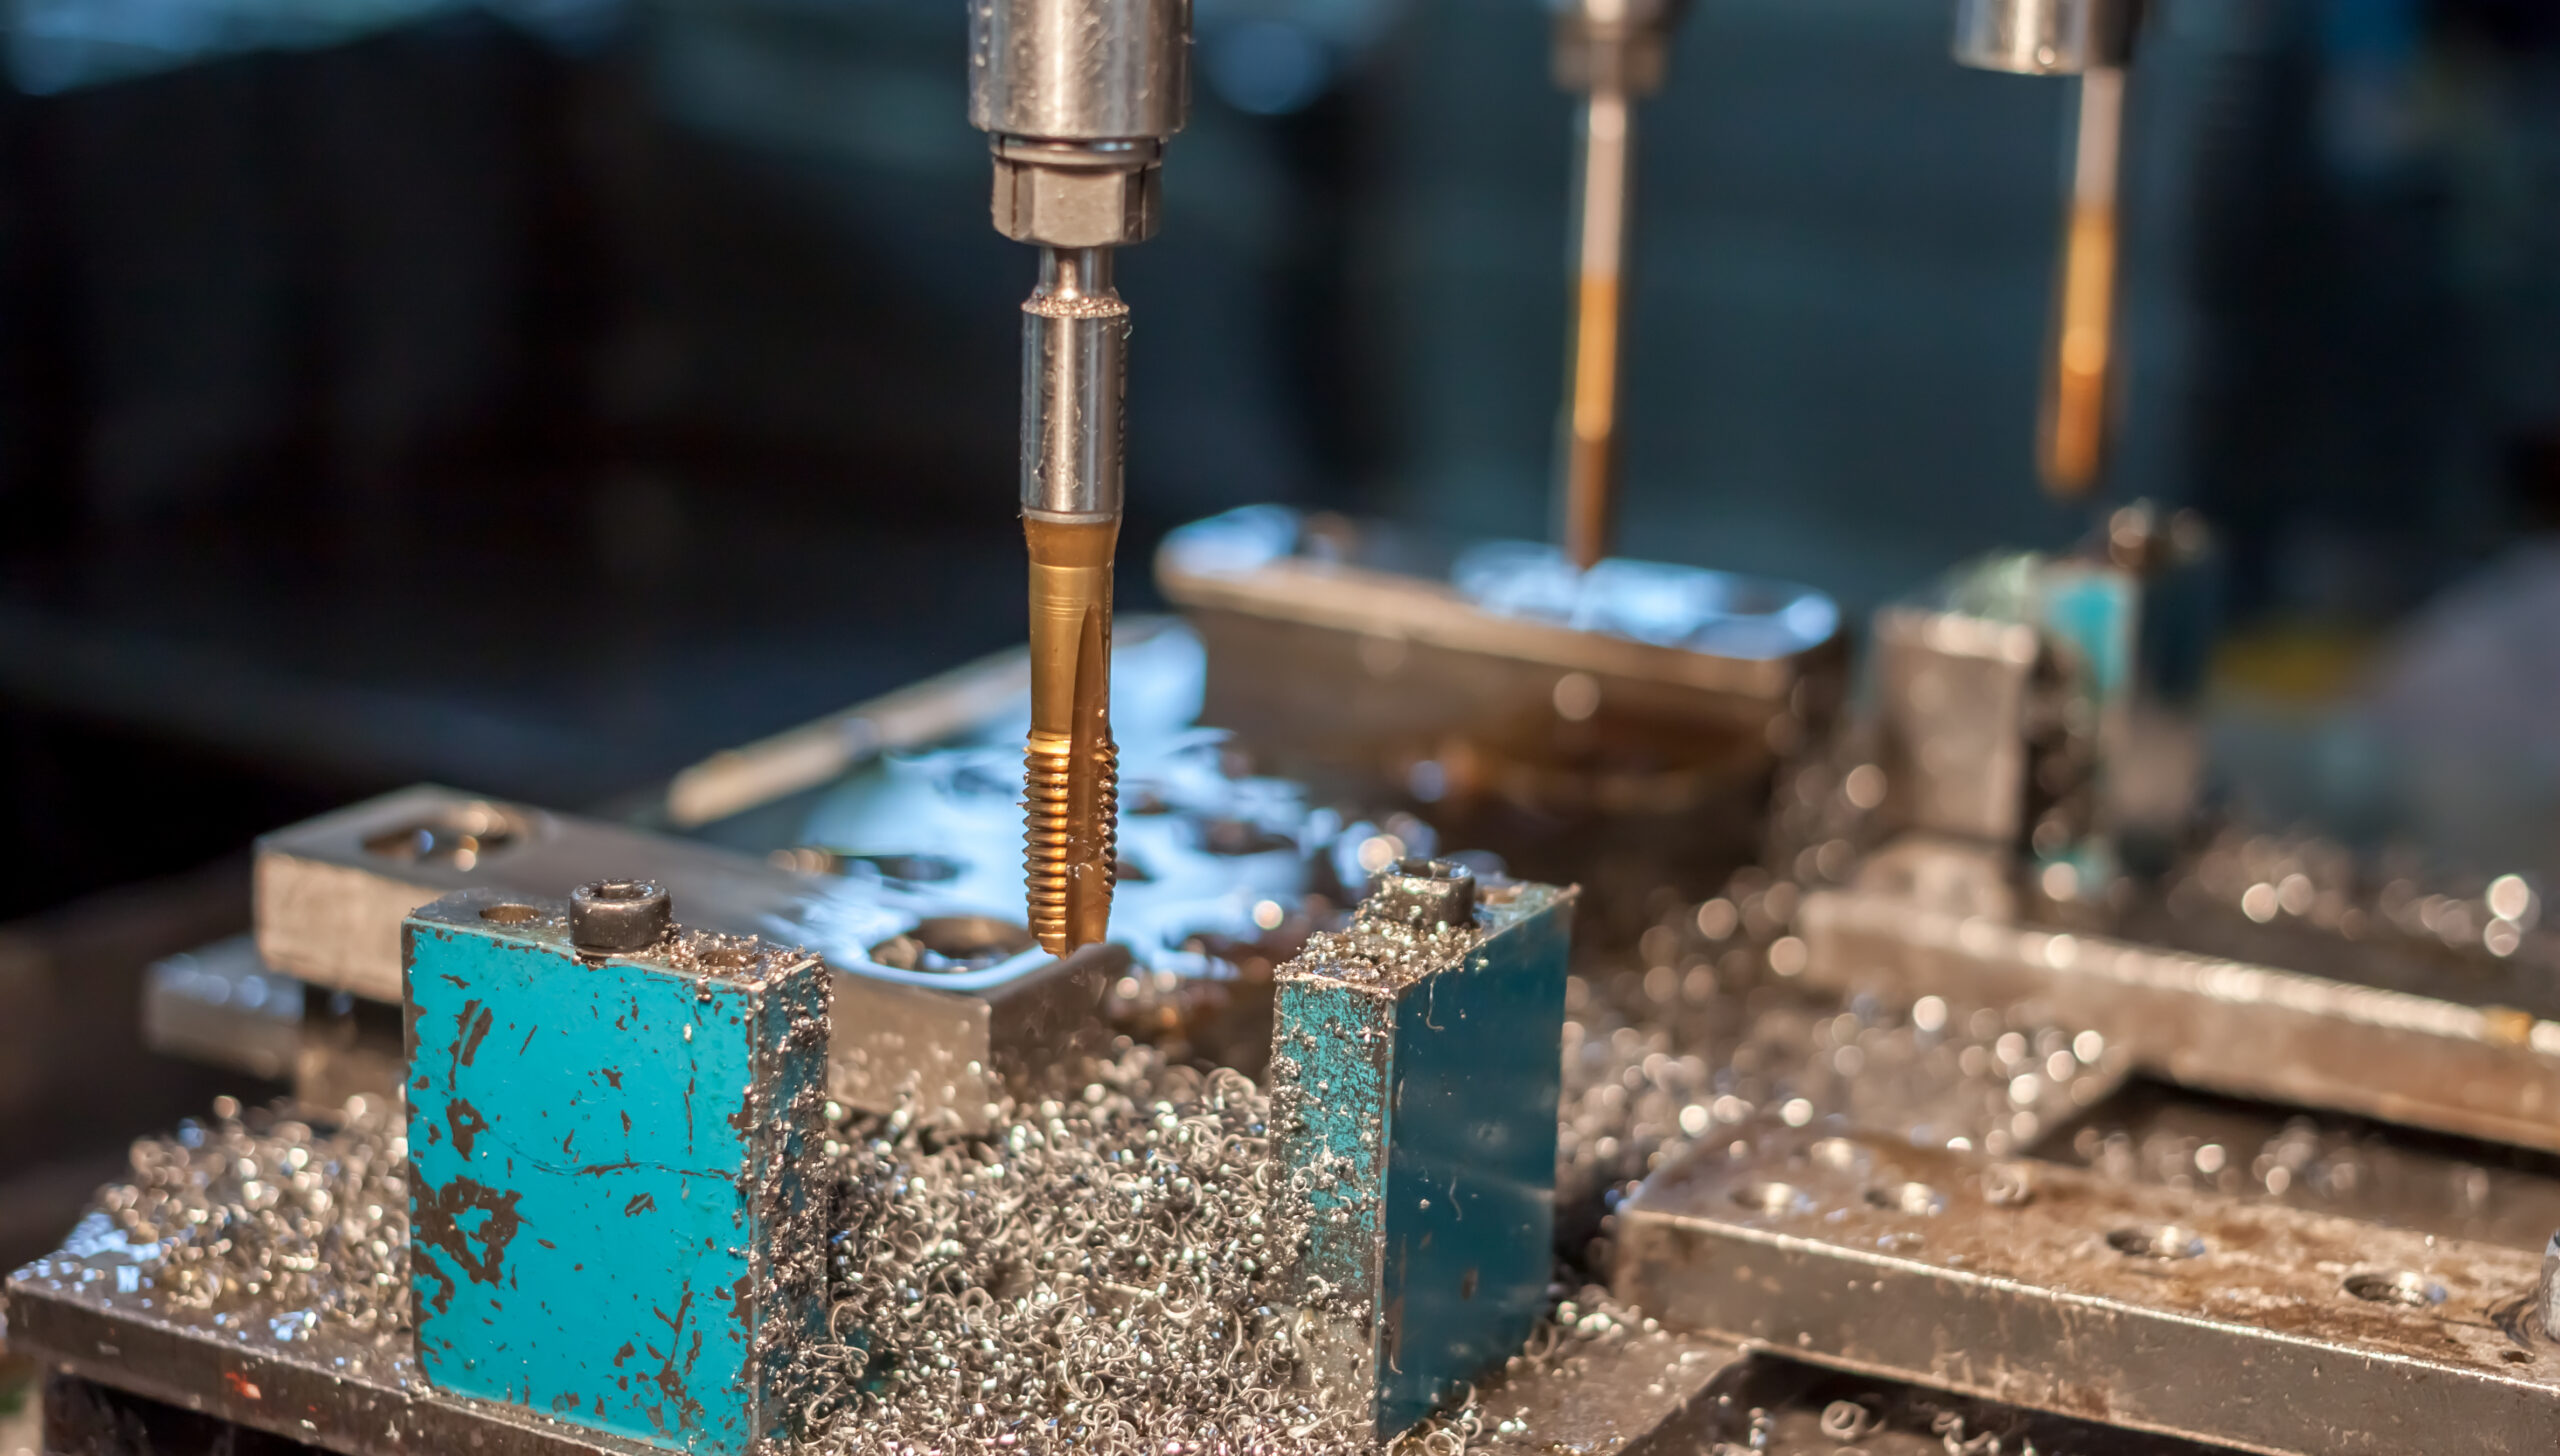
Drill bits can also lodge when the flutes clog with aluminum chips. The bit binds in the hole as chips wedge tightly in the flutes. feeding more pressure causes the shank to twist and break. Poor quality bits with inferior materials and improper geometric design are generally more prone to breaking.
So why does aluminum cause these troubles when drilling other metals is usually trouble-free? Two reasons:
1. Aluminum is Gummy and Sticky
The metal is soft and ductile. Rather than producing light, powdery chips like steel or brass, aluminum makes long, ribbon-like chips that wrap around the bit and can easily clog the flutes.
2. Aluminum Conducts Heat Poorly
Heat gets trapped at the cutting edges rather than conducting away through the aluminum workpiece. The concentrated heat builds up past the tempering point of the drill bit, causing loss of strength and premature breakage.
Now let’s get on to the business of removing that pesky broken bit!
Step 1: Secure the Workpiece
Before attempting to extract the bit, your first step is to secure the aluminum workpiece. The last thing you want is for it to spin or move around as you’re trying to drill it out.
Use a vise or clamp to grip the aluminum on a work table. If clamping isn’t practical, brace the aluminum against a solid surface to prevent rotation and vibration during drilling. Applying painter’s tape over the point of drilling can also help stabilize soft aluminum.
Make sure to clear any area around the piece that tools could catch or collide with. Have a container ready to catch aluminum chips and cutting oil.
Step 2: Remove Visible Portions of the Drill Bit
If any portion of the drill bit is still visible and protruding above the aluminum, you’ll want to snip it off.
Use a pair of sturdy diagonal pliers to snip the exposed bit as close to the surface as possible. Wear safety glasses in case bits go flying! Discard shards of cutting tools properly.
Removing any nub of drill bit lets you start fresh drilling a centered pilot divot to insert an extractor.
Step 3: Choose the Right Extractor Tool
The key item that makes removing a broken drill bit possible is an extractor tool.
Extractors are made precisely for removing broken screws, bolts, drill bits, and taps. The most typical style is a fluted tapered bit that screws into the broken piece in a counterclockwise direction. As it bites into the walls, turning the tool counterclockwise backs the stuck item out.
Several types of extractors are available:
- Screw Extractors – Offered in spiral and straight flute styles. Use for embedded screws or smaller broken bits.
- Bolt Extractors – Made to remove larger broken bolts and hardware.
- Damaged Screw Removers – Designed for broken screws with damaged, painted, or rusted heads. Grips what remains of the head to extract the fastener.
- Easy Outs – Reversible extractors that bite in either direction for added convenience.
The most important consideration is to match the correct diameter extractor to the embedded item you’re removing.
Too large, and it won’t gain enough threaded traction to back out the broken bit. Too small, and you risk breaking the extractor itself or leaving it stuck in the hole along with the bit!
Assess the size of drill bit broken off, then select your extractor accordingly allowing for good engagement into the walls. Extractors come numbered by size in metric and standard measurements. You may need multiple sizes to find the ideal fit.
I recommend keeping a full set of different sized quality extractors in various types on hand for metal work. Nothing beats having the perfect one ready when disaster strikes!
Step 4: Drill Around the Embedded Drill Bit
With the aluminum secured and extractor ready, it’s time to begin drilling. The goal here is to drill a centered guide hole around the circumference of broken bit deep enough to accommodate the length of the extractor.
Take care not to contact the broken bit with your new drill bit. Striking the broken portion can push it in deeper making it harder (if not impossible) to grip and back out.
Use a standard twist bit that’s a tad wider than the diameter of the extractor. Drill slowly and carefully using cutting oil to lubricate the aluminum.
Make frequent passes to clear chips so they don’t impede drilling accuracy. Let the bit do the work without forcing excessive pressure.
Drill just deep enough that the full length of extractor’s flutes will seat into the hole. This provides maximum gripping surface to achieve traction against the broken bit’s walls.
Step 5: Insert Extractor and Back Out Drill Bit
The moment of truth has arrived! With an ideal guide hole drilled, insert your extractor by hand or gently tapping with a mallet. Ensure it’s seated fully and centered inside the broken bit.
Begin slowly turning the extractor counterclockwise while applying moderate downward pressure. Continue extracting a 1/4 turn at a time while keeping pressure applied. As it gains purchase, increase turning pressure while avoiding excessive force.
Suddenly, you’ll feel the broken bit start to twist itself out as the extractor pulls it by the walls! Continue cranking steadily counterclockwise while maintaining constant pressure. In a few moments, the crippled bit will come spinning out of its tomb!
Examine the extracted drill bit to see if the extractor managed to grab the complete piece. If any portion broke off or remains in the hole, don’t fret. Simply use a smaller diameter extractor to latch onto the remnant fragment and repeat the process. An extra guide hole or two may need drilling to achieve full bit removal.
Flush out all metal debris from the newly enlarged hole. Touch it up with a file or sandpaper to smooth out threads or burrs. Fill in the enlarged hole with aluminum filler rod or epoxy steel stick if desired.
And with that, you’ve successfully rescued your aluminum workpiece and banished the broken drill bit without a trace! Now get back to your project!
Tips to Prevent Drill Bits From Breaking
While dealing with broken drill bits is just part of metalworking, a bit of care goes a long ways toward prevention:
- Use Sharp Bits – Sharper cutting edges require less force and stay cooler. Replace bits before excessive wear.
- Employ High Quality Bits – Bits of high-speed steel or cobalt steel alloys resist overheating and temper loss.
- Let the Drill Do the Work – Avoid forcing pressure. Allow bits to cut at their own rate.
- Retract to Clear Chips – Frequently back drill out to clear chips preventing clogging.
- Lubricate the Cutting Edge – Oil or lubricants conduct heat and ease drilling.
- Clamp Work Securely – Stops vibration allowing precision control.
- Go Slow on Small/Deep Holes – Low speeds and feeds prevent binding then breaking. Let bits peel away just a little metal per pass.
A good machinist avoids broken bits by mastering feed rates and using the right tools for the material. But when one does snap unexpectedly, you’ll be prepared to extract it with confidence!
Now over to you – what tricks have you learned for removing broken drill bits and other tools from metal workpieces? I welcome your experiences and tips in the comments!
Frequently Asked Questions (FAQ’s)
What is the easiest way to remove a broken drill bit?
The easiest method is to use an extractor tool made for removing broken bolts, screws, and drill bits. Match the correct size extractor to the embedded bit, then drill a centered hole around it for the extractor to seat into. As you turn the extractor counterclockwise, it will back the broken bit out.
Can you drill out a broken drill bit?
Yes, it is possible to drill out and destroy a broken drill bit. However this is extremely challenging, risks damaging the workpiece, and requires special equipment like carbide bits. Using an extractor tool properly is generally the best approach.
How do you remove a broken drill bit without a drill?
If lacking power tools entirely, securing the aluminum in a vise can allow manually removing bits with pliers. Grip pliers or locking pliers to the exposed portion of bit and rotate/pull firmly. Applying penetrating oil overnight can help free the stuck portion. However drills make quick work of extraction.
What if the extractor tool gets stuck too?
In a worst case scenario, both extractor and bit remain stuck in the hole. This calls for a left-hand drill bit which turns clockwise (opposite standard twist drills). The left-hand rotation will back both broken parts out. Utilize this method only as a last resort!
Thanks for reading – I hope this guide brings you success dominating difficult broken drill bits without surrendering your aluminum workpieces! Let me know if you have any other challenging metalworking obstacles for future articles.